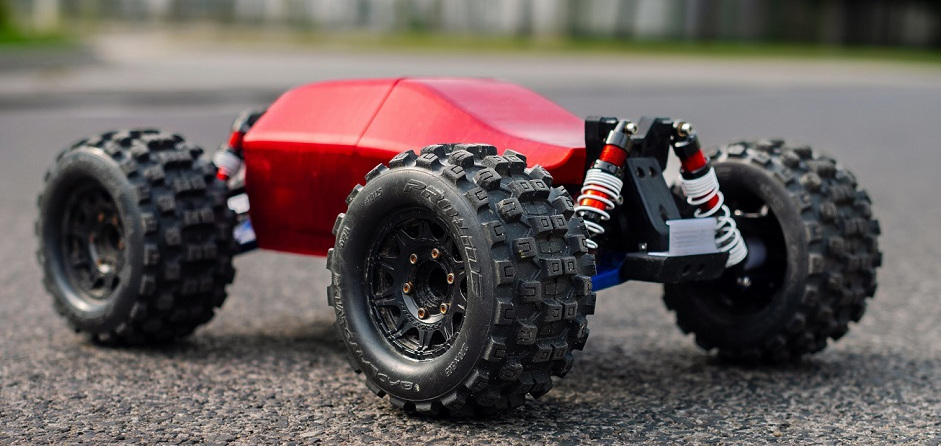
Intro to Robak #
Hey there! Welcome to the world of Robak, a DIY RC car project that’s pretty much for anyone interested in building their own remote-controlled car. This page will give you a quick run-through of what Robak is all about, who might enjoy this project, what kind of budget you’re looking at, and what you need to kick things off.

What is Robak? #
Robak is my take on the DIY RC car, but it’s more than just a toy:
- DIY at Heart: It’s all about making your own RC car from scratch, offering a hands-on project that’s as fun to build as it is to drive.
- Make It Yours: The whole point is to adapt and modify it however you see fit. Fancy a regular RC car? Cool. Want to turn it into a robot on wheels? Go for it.
- 3D Printing Friendly: I designed it with 3D printing in mind, but don’t let that limit you. If you’re into CNC machining or other making methods, Robak’s got you covered.
- Non commercial: Everything about Robak, from design files to documentation, is out there for free. It’s all about sharing the knowledge and fun.
Who’s It For? #
Robak’s pretty versatile, so it’s for a wide range of folks:
- Makers & Hobbyists: Love tinkering? You’ll get a kick out of Robak.
- Students & Teachers: It’s a cool, hands-on way to dive into mechanics, electronics, and coding.
- Everyone Else: Really, anyone curious enough to build their own RC car will find something to love here, kids and grown-ups alike.
How Much Will It Cost? #
Here’s the deal on costs:
- What’s Your Budget? You could spend anywhere from $300 to $500, depending on what gear you already have.
- Check the Components List: Head over to non-printed parts page to see what you’ll need and get a sense of the costs.
What Do You Need? #
- 3D Printer That’s how you’ll be making most of your Robak.
- Some Basic Tools: You’ll need a few tools for assembly, but nothing too fancy.
Okay, I’m In. What’s Next? #
Great decision! Now, let’s take a look at the hardware you’ll need for this build.
Components